

How To Remove Rub Rail On Boat
Easy Rubrail Replacement
Inserting a new rubrail on your boat can protect your investment and heighten its appearance.
A rubrail protects your gunkhole'due south hull from bumps. An insert strip can be easily replaced when information technology starts to look worn.
Rubrails are to boats what bumpers are to automobiles: protective barriers designed to absorb the daze of pocket-sized impacts to protect the chassis — or, in the instance of watercraft, the hull. With many gunkhole designs, the rubrail as well serves every bit a cosmetic cover to the joint and helps seal the seam between the hull and deck cap.
Because boats bump things like docks and pilings on a regular basis, ii-slice rubrails are offered on most boats, and include a sacrificial insert strip intended to take the burden of the bumps and abrasion. The strip can be replaced if and when it's worn or damaged to the point that it can't practise its job or starts to evidence its age. Usually the insert is made of a forgiving vinyl PVC textile that is more flexible than the rubrail that secures information technology around the boat's perimeter, and it'south designed to slide into a channel forth the center of the rubrail.
Rubrail manufacturers offer replacement inserts in sizes and shapes to fit their various rubrail designs and colors, and aftermarket inserts are available in pop dimensions and colors as well. The vinyl inserts are sold in rolls and priced by the pes. Although some designs allow splicing-in brusque lengths of material to supercede a damaged section of insert, near boaters supervene upon the entire length of the rubrail insert when tackling the task. Information technology'due south not specially expensive or difficult to practise, specially if you have a helping paw, and you'd be surprised how much a new insert can improve a boat's appearance.
Technical Support
Tools & Materials:
- Heat Gun
- Ability Drill
- Large, flat-bract screwdriver
- Silicone adhesive Sealant
Time: Around 4–5 hours
Cost: Depends on the material and length of the boat. PVC inserts starting time around $100 for a 24-foot boat.
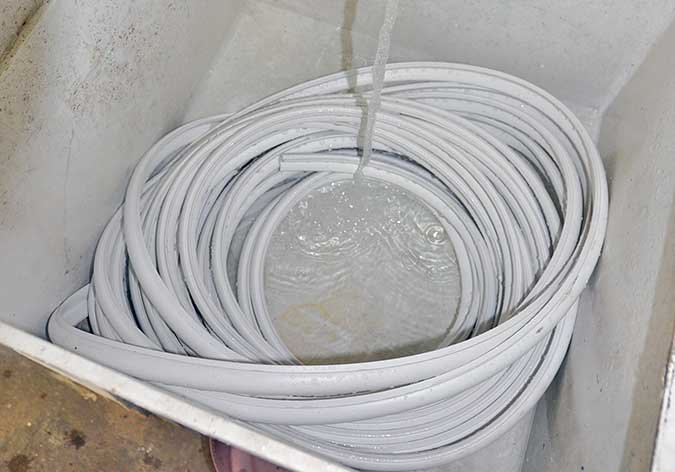
Tackle the job on a warm twenty-four hours, because the insert material is much more flexible and forgiving when information technology'south warm. In fact, we keep our insert roll soaking in a tub of hot water until it'south time to thread information technology into the track slot — and fifty-fifty then nosotros detect that warming information technology and the rubber rails with a heat gun makes the task easier.
Because of the curves involved, you'll need more insert than just double your gunkhole'due south overall length. We recommend adding the gunkhole'south length to its beam and then doubling the sum to ensure you order enough rubrail to complete the job.
Taco Marine is a pop OEM supplier of rubrails for many gunkhole manufacturers and offers an extensive line of replacement rubrails and inserts in kit course. Hither are the basic steps in the replacement of an insert on a xx-foot center-panel boat using a standard Taco Marine PVC vinyl insert priced at $lxx for a 50-human foot roll.
Follow These Steps To Replace Your Rubrail:
1. Soak the insert roll in hot water while you lot work on removing the old insert. This will ensure that the replacement insert will remain flexible until information technology'due south fourth dimension to thread it into the rubrail channel.
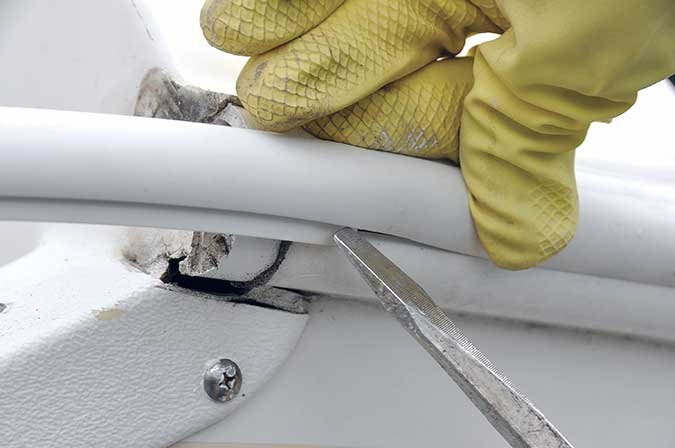
two. Remove the rubrail end caps and pry out the one-time insert. A wide spade standard screwdriver may come up in handy with the latter. But be sure not to damage the rubrail itself.
3. If the old insert is potent with age, you may need a heat gun to help soften and loosen it and the prophylactic rail to separate the ii.
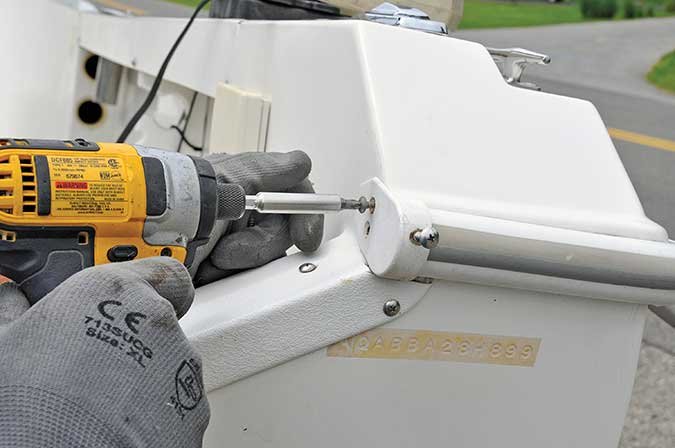
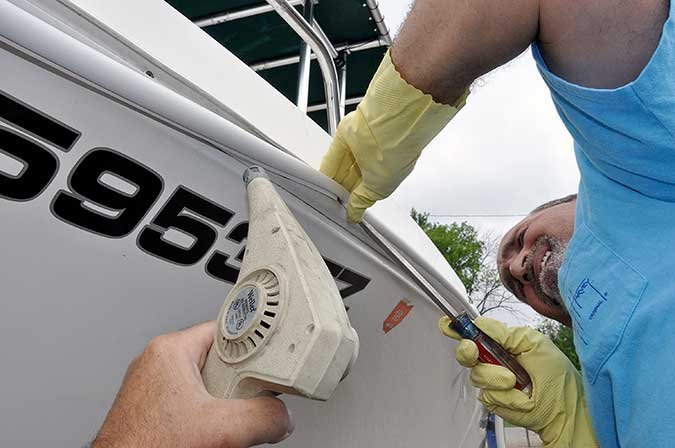
4. Clean any debris from the rubrail channel, noting any loose screws or places where the rail may have pulled abroad from the cap. If necessary, rebed and tighten any loose screws securing the rail to the cap.
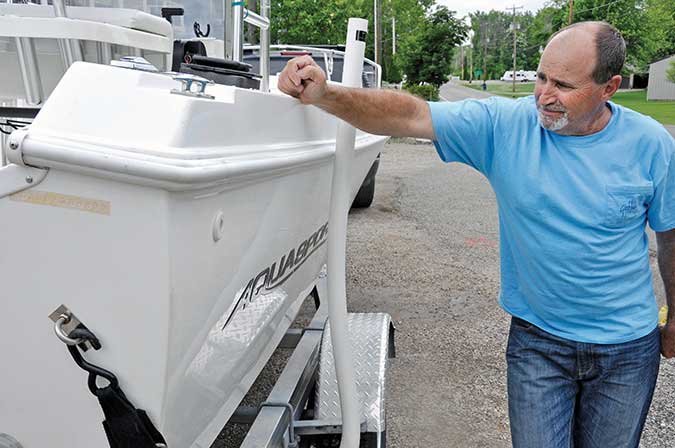
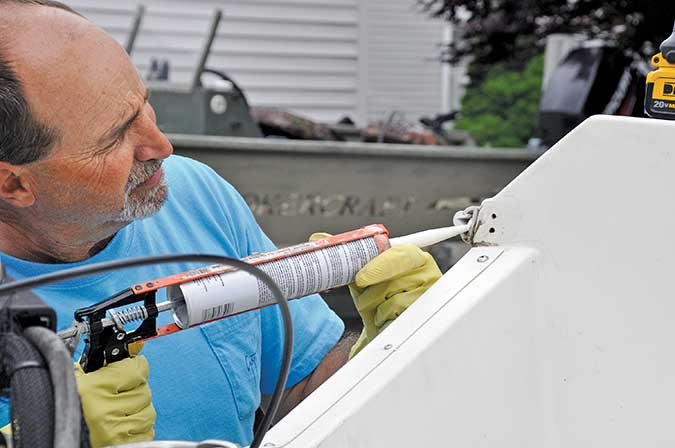
five. Recall the roll from the warm water and while it remains flexible, starting at one cease of the rubrail at the transom, strength the insert into the channel most i end, leaving a tag end of the insert extended from the terminate of the rubrail and the residual coiled ahead of you.
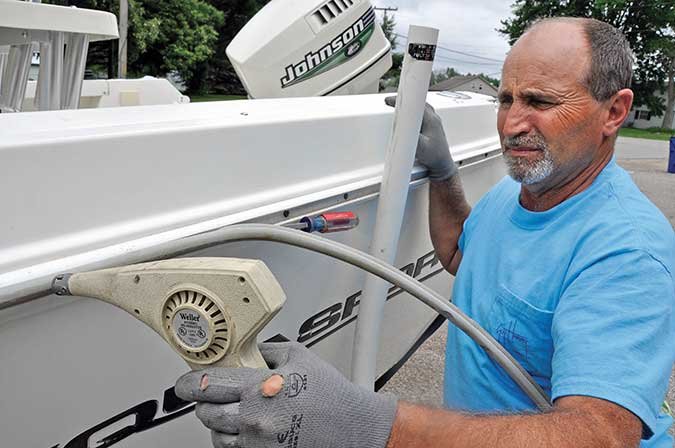
6. Piece of work your way forwards slipping the insert into the channel, uncoiling as you become, using a screwdriver as needed to leverage the slot open up enough to accept the new insert. This is where a helper comes in handy to feed the whorl and direct the estrus gun at the rail to keep it flexible enough to easily accept the new insert. The tightest turns come at the bow and transom corners, where it'southward important to take the insert flexible to make sure information technology fits tight inside the channel. Take time in these vulnerable, angled areas to make sure the insert stays in place before moving forward.
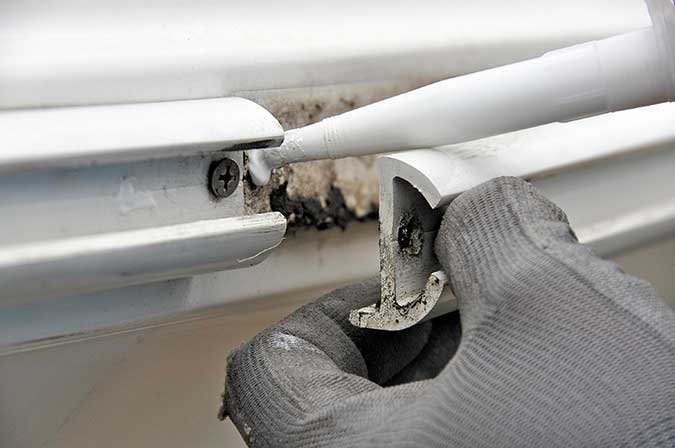
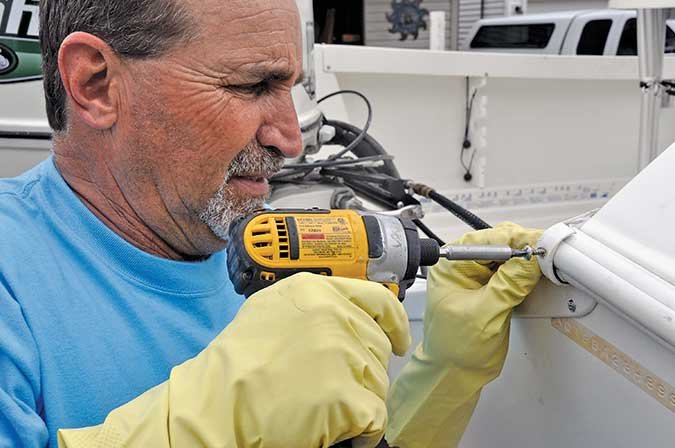
vii. If y'all measured correctly, you'll accept several inches of insert to spare in one case you reach the biting end of the rubrail across the transom from where you lot began. Trim both ends of the insert affluent with the rubrail, then seal with silicone adhesive. You may need to drill a airplane pilot hole in the insert if the finish cap requires a spiral in that location.
eight. Reinstall the rubrail caps. Do a concluding inspection of the rubrail to make certain the insert is fully seated in place forth its entire length and to admire the results of the completed projection.
Writer
Dan Armitage
Contributing Editor, BoatUS Magazine
A total-time travel and outdoors writer based in Ohio, Dan is in his 20th flavour hosting the pop syndicated radio testify Buckeye Sportsman. He gets around on a pontoon boat and an Aquasport eye-console, which he uses for all his DIY editorial projects and fishing features. A USCG Helm (Master l-ton), he's a popular speaker at gunkhole and sport shows.
BoatUS Magazine Is A Benefit Of BoatUS Membership
Membership Benefits Include:
-
Subscription to the impress version of BoatUS Mag
-
4% back on purchases from West Marine stores or online at WestMarine.com
-
Discounts on fuel, transient slips, repairs and more than at over i,200 businesses
-
Deals on cruises, charters, car rentals, hotel stays and more…
-
All for just $25/yr!
Source: https://www.boatus.com/expert-advice/expert-advice-archive/2017/august/easy-rubrail-replacement
0 Response to "How To Remove Rub Rail On Boat"
Post a Comment